
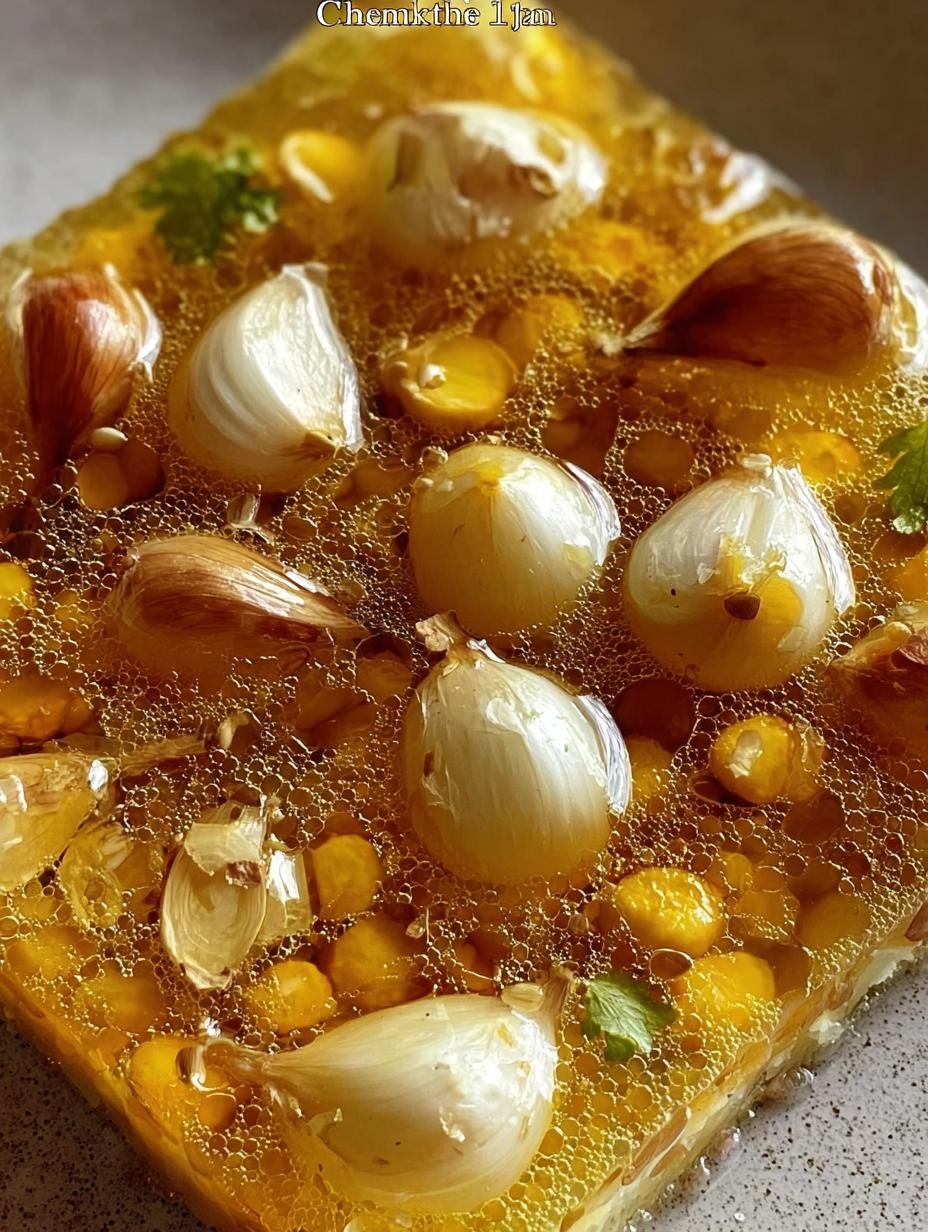
Pickled Garlic Olive Oil has been my secret weapon in the kitchen for years. I first stumbled upon this gem during a trip to Italy, where a local chef shared his family’s tradition of preserving the sweet, mellow flavor of garlic in aromatic oil. The moment I tasted that rich, savory garlic infused olive oil spread on crusty bread, I knew I had to recreate it at home. Now, the aroma of herbs mingling with garlic always fills my kitchen, bringing back those wonderful memories. This easy homemade pickled garlic olive oil is incredibly versatile, adding a gourmet touch to any dish. Let’s get cooking!
Why You’ll Love This Pickled Garlic Olive Oil
I promise, you’re going to adore this Pickled Garlic Olive Oil! It’s so much more than just an ingredient; it’s a game-changer for your culinary adventures. Here’s why I think you’ll fall in love with it:
- The taste is incredibly complex and savory, with a mellow garlic flavor that’s never overpowering.
- It requires minimal prep time, making it perfect for busy weeknights when you still want gourmet flavors.
- This marinated garlic oil is packed with beneficial antioxidants from both the garlic and the olive oil.
- Making your own is incredibly budget-friendly compared to buying specialty oils from the store.
- It’s a fantastic way to elevate simple dishes, turning everyday meals into something special.
- The versatile nature of this marinated garlic oil means everyone in the family will find a way to enjoy it.
- You’ll always have a secret ingredient on hand to impress guests or simply treat yourself.
Ingredients for Pickled Garlic Olive Oil
Gathering the right ingredients is key to making the most delicious Pickled Garlic Olive Oil. I’ve found that using high-quality components truly makes a difference in the final product’s flavor and aroma. Here’s what you’ll need for this delightful concoction, which is almost like a quick garlic confit in olive oil:
- 1 cup fresh garlic cloves, peeled – I always opt for fresh garlic; it yields the best, sweetest flavor for your garlic infused olive oil.
- 1 cup extra virgin olive oil – Choose a good quality extra virgin olive oil. Its fruity notes complement the mellow garlic beautifully.
- 3 sprigs fresh rosemary – Rosemary adds a wonderful, earthy aroma that pairs perfectly with the pickled garlic.
- 3 sprigs fresh thyme – Thyme contributes a subtle, herbaceous note that enhances the overall complexity.
- 1 teaspoon black peppercorns – These add a gentle warmth and a touch of spice without being overpowering.
- 1 dried bay leaf – This classic herb adds a deep, savory undertone to your pickled garlic olive oil.
- Zest of 1 lemon – A little lemon zest brightens everything up, offering a fresh, citrusy finish.
How to Make Pickled Garlic Olive Oil
Making your own Pickled Garlic Olive Oil is a surprisingly simple and rewarding process. I love how the kitchen fills with the most incredible aromas as the garlic and herbs gently warm. Follow these steps, and you’ll have a batch of this liquid gold in no time. This is my go-to method for how to make pickled garlic olive oil that’s consistently delicious.
- Step 1: First, ensure all your ingredients are ready. Peel your garlic cloves. There’s no need to preheat an oven for this specific recipe, as we’ll be using gentle stovetop heat.
- Step 2: In a small, heavy-bottomed saucepan, pour in your extra virgin olive oil. Place the saucepan over the lowest heat setting on your stovetop. You want the oil to warm very gently, not to sizzle or boil. Keep an eye on it; patience is key here.
- Step 3: Once the oil is slightly warm to the touch (after about 2-3 minutes), add your fresh rosemary sprigs, thyme sprigs, black peppercorns, and the dried bay leaf. Let these aromatic elements steep in the warm oil for about 5 minutes. You’ll start to notice the herbs releasing their fragrant oils, which will infuse your garlic infused olive oil beautifully.
- Step 4: Now, carefully add the peeled garlic cloves and the lemon zest to the saucepan. Continue to simmer the mixture on low heat for an additional 10 minutes. The goal is for the garlic to soften slightly and become tender, but not to brown or become crispy. This gentle cooking process is crucial for achieving that sweet, mellow flavor in your pickled garlic olive oil.
- Step 5: While your garlic is simmering, sterilize a glass jar that can hold at least 1 cup. I usually run mine through the dishwasher on a hot cycle or boil it for 10 minutes. This is an important step for safe preservation.
- Step 6: Once the garlic is tender, remove the saucepan from the heat. Using tongs, carefully transfer the warm garlic cloves and all the infused herbs into your sterilized jar.
- Step 7: Pour the warm, aromatic olive oil over the garlic and herbs in the jar, ensuring that all the garlic cloves are completely submerged. This is critical for the preservation of your pickled garlic olive oil.
- Step 8: Allow the jar to cool completely to room temperature before sealing it tightly with a lid. Once cooled, immediately transfer the jar to your refrigerator for storage. This method ensures you get the best tasting homemade pickled garlic olive oil.
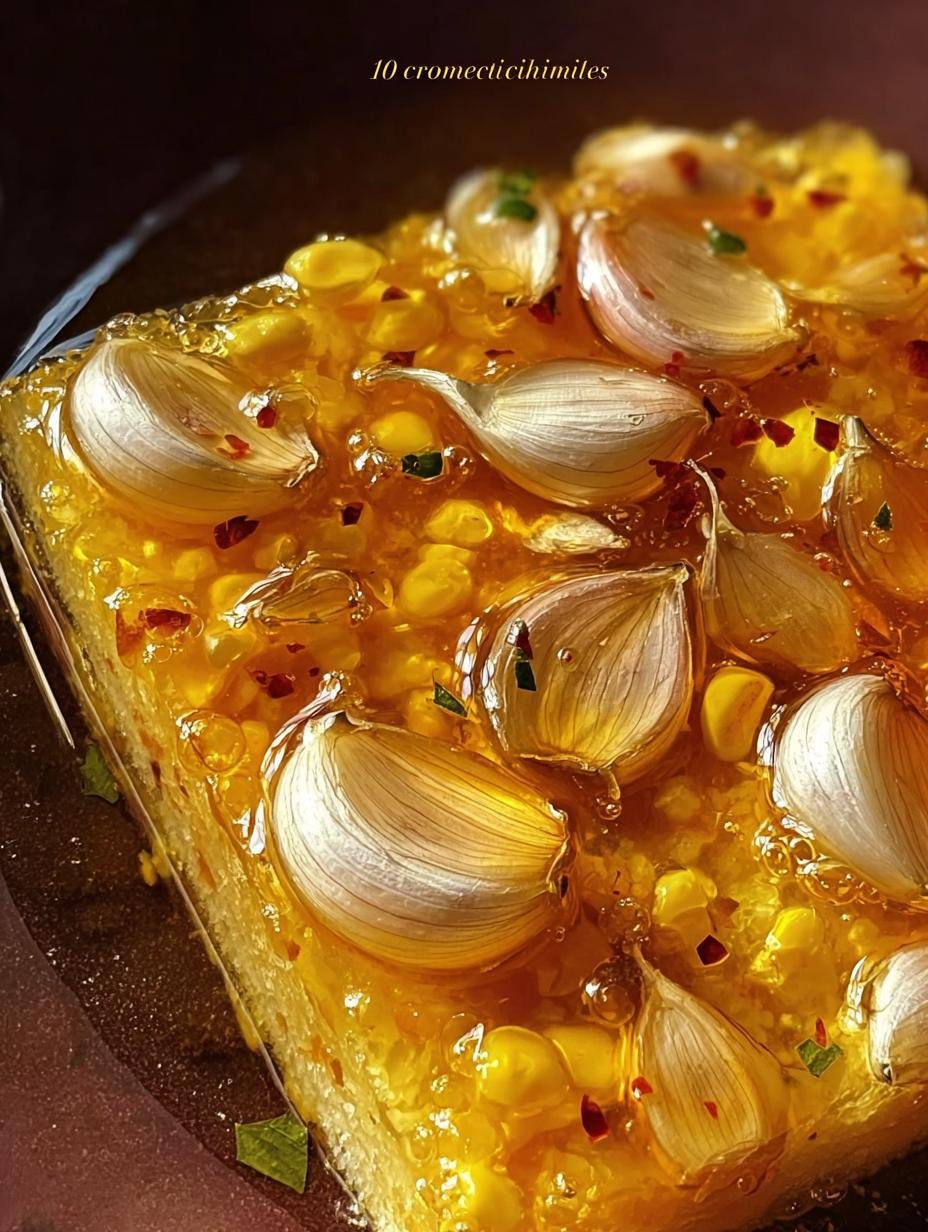
Pro Tips for the Best Pickled Garlic Olive Oil
I’ve made countless batches of this incredible Pickled Garlic Olive Oil, and I’ve picked up a few tricks along the way that I’m excited to share with you. These expert tips will help you achieve the most flavorful and safely prepared batch every single time. Trust me, these small details make a big difference in the quality of your finished product.
- Always use fresh, firm garlic cloves; avoid any that are bruised or sprouting, as this impacts flavor.
- Ensure your olive oil is always of good quality; it’s the foundation of your garlic infused olive oil.
- Never let the oil boil during the infusion process; gentle heat is crucial for mellowing the garlic without burning it.
- Sterilize your jar thoroughly before use to prevent any unwanted bacteria from forming in your pickled garlic olive oil.
- Always keep the garlic fully submerged in the oil when storing to maintain freshness and safety.
What’s the secret to perfect Pickled Garlic Olive Oil?
The real secret lies in the slow, gentle infusion process. By keeping the heat very low, you allow the garlic to slowly confit and release its sweet, mellow flavors into the oil without becoming bitter. This technique is what makes your homemade pickled garlic olive oil truly exceptional and gourmet-quality.
Can I make Pickled Garlic Olive Oil ahead of time?
Absolutely! This is one of my favorite make-ahead condiments. You can prepare the Pickled Garlic Olive Oil up to two to three weeks in advance. Just store it promptly in the refrigerator after it cools, ensuring all the garlic remains submerged in the oil.
How do I avoid common mistakes with Pickled Garlic Olive Oil?
The most common mistake is overheating the oil, which can burn the garlic and lead to bitterness. Another pitfall is not sterilizing the jar, which can introduce bacteria. Always ensure the garlic is fully covered by oil to prevent exposure to air, which is crucial for the safety of your pickled garlic olive oil.
Best Ways to Serve Pickled Garlic Olive Oil
Once you have a jar of this incredible Pickled Garlic Olive Oil, you’ll find countless ways to enjoy it. I always have some on hand because it instantly elevates so many dishes. Here are a few of my favorite uses for pickled garlic olive oil that I’m sure you’ll love too:
- Spread on Crusty Bread: My absolute favorite way to enjoy it! Simply toast a slice of baguette or sourdough, then spread some of the softened pickled garlic cloves and drizzle with the infused oil. It’s a simple, yet incredibly satisfying appetizer.
- Toss with Pasta or Roasted Vegetables: For a quick and flavorful meal, toss warm pasta or freshly roasted vegetables with a few spoonfuls of the oil and some mashed garlic cloves. It adds a gourmet touch with minimal effort. This is a fantastic use for pickled garlic olive oil to enhance everyday meals.
- Elevate Cheese Boards and Charcuterie: Place a small bowl of the garlic cloves and oil on your next cheese board. The mellow, sweet garlic pairs beautifully with both mild and strong cheeses, and the oil is perfect for dipping.
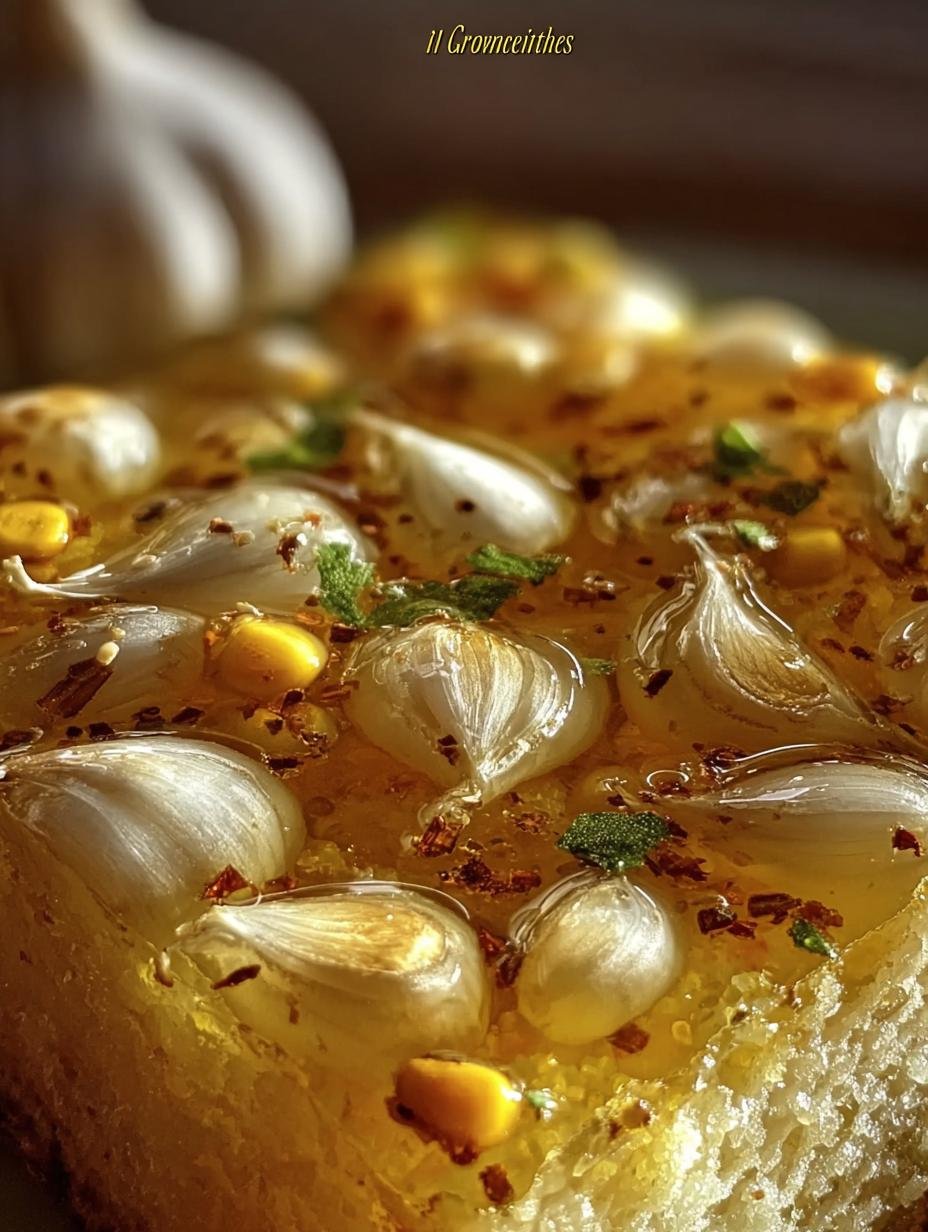
Nutrition Facts for Pickled Garlic Olive Oil
I know many of you are curious about the nutritional aspects of what we eat, so here’s a breakdown for our delicious Pickled Garlic Olive Oil per serving (this recipe makes approximately 16 servings, assuming 1 tablespoon per serving):
- Serving Size: 1 tablespoon
- Calories: 90 kcal
- Fat: 10 g
- Saturated Fat: 1.4 g
- Trans Fat: 0 g
- Carbohydrates: 1 g
- Fiber: 0 g
- Sugar: 0 g
- Protein: 0 g
- Sodium: 1 mg
- Cholesterol: 0 mg
Please remember that these nutritional values for Pickled Garlic Olive Oil are estimates and may vary based on specific ingredients used and preparation methods.
How to Store and Reheat Pickled Garlic Olive Oil
Proper storage is absolutely crucial for your Pickled Garlic Olive Oil, not just for flavor but for safety. I always ensure my homemade batches are handled with care to enjoy them for as long as possible. Here’s the best way to store pickled garlic olive oil to maintain its quality and prevent spoilage.
Once you’ve made your batch, allow the jar to cool completely to room temperature. Then, seal it tightly and immediately transfer it to the refrigerator. Keeping it cold is key. The pickled garlic olive oil will remain fresh and safe to consume for about 2-3 weeks in the fridge, as long as the garlic cloves remain fully submerged in the oil.
If you wish to store it longer, you can freeze the garlic cloves (without the oil) in an airtight container for up to 3 months. To enjoy, simply thaw the garlic and then infuse it in fresh olive oil. I don’t recommend freezing the oil itself as it can change texture. When ready to use the refrigerated pickled garlic olive oil, simply spoon out what you need; there’s no specific reheating required, as it’s often used at room temperature or gently warmed in dishes.
Frequently Asked Questions About Pickled Garlic Olive Oil
Is pickled garlic in olive oil safe to eat?
This is a very important question! When made and stored correctly, pickled garlic olive oil is safe. The key is to ensure proper sterilization of your jar and always keep the garlic submerged in oil in the refrigerator. Garlic is a low-acid food, and when stored improperly in oil at room temperature, it can create an environment where botulism-causing bacteria can thrive. My recipe specifically calls for refrigeration to minimize this risk, making your homemade pickled garlic olive oil safe and delicious.
How long does homemade pickled garlic olive oil last?
When properly refrigerated and with the garlic consistently submerged in the oil, your homemade pickled garlic olive oil will last for approximately 2 to 3 weeks. After this time, while it might still appear fine, the quality and safety can diminish. I always recommend making smaller batches more frequently so you can enjoy it at its freshest and safest.
Can I use dried herbs instead of fresh ones in pickled garlic olive oil?
You certainly can! If you don’t have fresh rosemary and thyme on hand, you can substitute them with dried herbs. As a general rule, use about one-third of the amount of dried herbs compared to fresh. For example, instead of 3 sprigs of fresh rosemary, use about 1 teaspoon of dried rosemary. The flavor profile will be slightly different, but your garlic infused olive oil will still be wonderfully aromatic.
What is the best type of olive oil to use for this recipe?
I always recommend using a good quality extra virgin olive oil for your pickled garlic olive oil. Its robust flavor and superior quality contribute significantly to the overall taste of the finished product. While you could use a lighter olive oil, the richness of extra virgin olive oil truly complements the mellow garlic and herbs, enhancing the gourmet feel of this homemade condiment.
Variations of Pickled Garlic Olive Oil You Can Try
I love experimenting in the kitchen, and this Pickled Garlic Olive Oil recipe is fantastic for personalizing! There are so many ways to switch up the flavors and make it your own. Here are a few variations I’ve enjoyed that can transform your basic garlic preserved in olive oil into something new and exciting:
- Spicy Kick: For those who love a little heat, add a few dried red chili flakes or a small, dried bird’s eye chili to the oil during the infusion process. It adds a wonderful warmth to your pickled garlic olive oil.
- Mediterranean Herb Blend: Instead of just rosemary and thyme, try a blend of dried oregano, marjoram, and a pinch of savory. This creates a distinctly Mediterranean flavor profile for your garlic preserved in olive oil.
- Citrus Infusion: Beyond lemon zest, consider adding a strip of orange peel or lime zest during the simmering stage for a brighter, more complex citrus note in your pickled garlic olive oil.
- Smoked Paprika & Bay: A touch of smoked paprika adds a subtle, smoky depth. Combine it with an extra bay leaf for a robust, earthy variation of this delicious condiment.
Amazing 10-Min Pickled Garlic Olive Oil Secret
Pickled garlic in olive oil is a simple yet gourmet delight. This versatile recipe captures the sweet, mellow flavor of garlic, complemented by aromatic herbs and spices. Perfect as a snack, a spread, or a cooking ingredient, it’s a must-have for any kitchen.
- Prep Time: 10 minutes
- Cook Time: 15 minutes
- Total Time: 25 minutes
- Yield: 1 jar (approximately 1 cup) 1x
- Category: Condiments, Preserves
- Method: Infusion
- Cuisine: Mediterranean
- Diet: Vegetarian
Ingredients
- 1 cup fresh garlic cloves, peeled
- 1 cup extra virgin olive oil
- 3 sprigs fresh rosemary
- 3 sprigs fresh thyme
- 1 teaspoon black peppercorns
- 1 dried bay leaf
- Zest of 1 lemon
Instructions
- Prepare the Garlic: Peel the garlic cloves and set them aside.
- Heat the Oil: In a small saucepan, gently warm the olive oil over low heat. Do not let it boil.
- Infuse the Oil: Add the rosemary, thyme, bay leaf, and black peppercorns. Let the mixture steep for 5 minutes.
- Add the Garlic: Stir in the garlic cloves and lemon zest. Simmer on low heat for 10 minutes until garlic softens slightly.
- Transfer to Jar: Using tongs, carefully place the garlic and herbs into the sterilized jar. Pour the warm oil over the garlic, ensuring it is fully submerged.
- Seal and Store: Close the lid tightly and let cool to room temperature. Store in the refrigerator.
Notes
- Spread on toasted bread for a savory snack.
- Toss with pasta or roasted vegetables.
- Pair with cheese and charcuterie boards.
- Keep refrigerated and ensure garlic is always submerged in oil.
- Best consumed within 2-3 weeks for optimal flavor.
- Avoid Overheating: Overcooked garlic can lose its sweetness.
- Use Fresh Garlic: Ensures the best taste and texture.
- Sterilize Your Jar: Prevents contamination and extends shelf life.
Nutrition
- Serving Size: 1 tablespoon
- Calories: 90 kcal
- Sugar: 0g
- Sodium: 1 mg
- Fat: 10 g
- Saturated Fat: 1.4g
- Unsaturated Fat: 8.6g
- Trans Fat: 0g
- Carbohydrates: 1 g
- Fiber: 0g
- Protein: 0g
- Cholesterol: 0mg


Leave a Reply